Getting Started
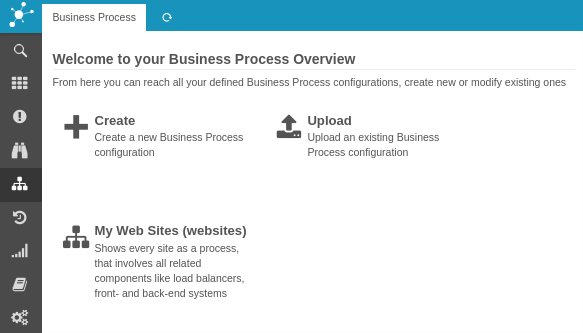
Once you enable the Business Process module, it will pop up in your menu. When you click on it, it will show you a new Dashboard:

A new Business Process configuration
From here we choose to create a new Business Process configuration:
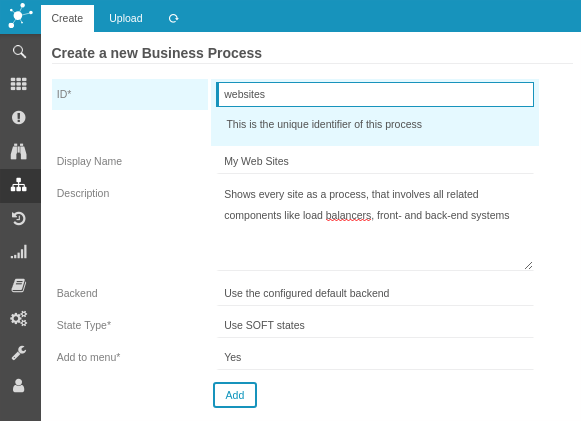
Let’s have a look at the single fields:
Configuration name

The Business Process definition will be stored with this name. This is going to be used when referencing this process in URLs and in Check Commands.
Title

You might optionally want to provide an additional title. In that case the title is shown in the GUI, while the name is still used as a reference. The title will default to the name.
Description
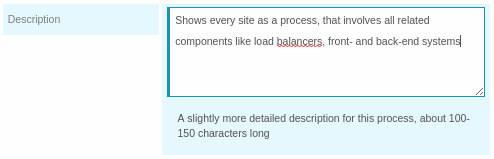
Provide a short description explaining within 100-150 character what this configuration provides. This will be shown on the Dashboard.
Backend

Hint: Usually this should not be changed
Icinga Web 2 currently uses only one Monitoring Backend, but in theory you could configure multiple ones. They won’t be usable in a meaningful way at the time of this writing. Still, you might want to use a different backend as a data provider for your Business Process.
State Type

You can decide whether SOFT or HARD states should be the used as a base when
calculating the state of a Business Process definition.
Add to menu
Business Process configurations can be linked to the Icinga Web 2 menu. Only the first five configurations a user is allowed to see will be shown there:

That’s all for now, click Add to store your new (still empty) Business Process
configuration.
Empty configuration
You are redirected to your newly created Business Process configuration:
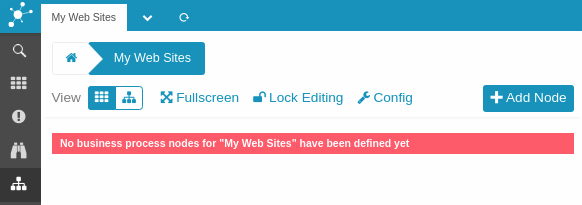
From here we can now add as many deeply nested Business Processes as we want. But let’s first have a look at our Dashboard once again:
Now let’s move on and create your first Nodes.